Disney Lightning Lane Explained – How to Maximize your Time
Opinions, reviews, analyses & recommendations are the author’s alone, and have not been reviewed, endorsed or approved by any of these entities. This post may contain affiliate links, meaning I get a commission if you decide to make a purchase through my links, at no cost to you. As an Amazon Associate I earn from qualifying purchases.
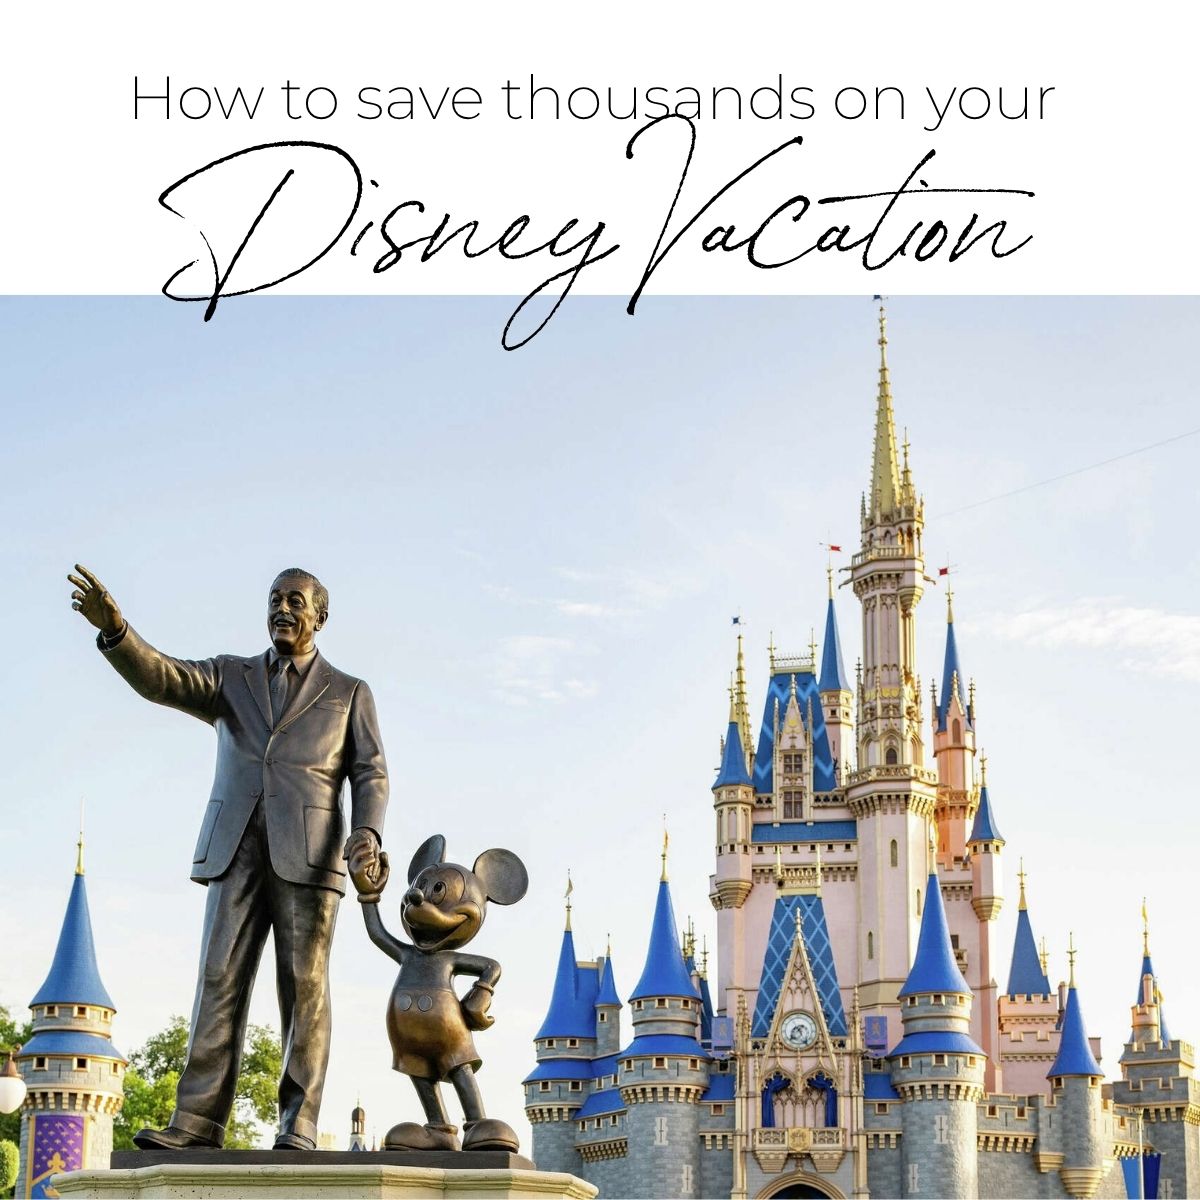
If you’re planning a trip to Walt Disney World Resort (or one of the other Disney parks that use the system) and have heard about the “Disney Lightning Lane”, you’re in the right place. This blog post is your plain‑language guide to what the Lightning Lane system is, how it works now (with the recent changes), and how you can use smart strategy to make the most of your time in the park.
What is the Disney Lightning Lane?
Simply put: The Lightning Lane is a paid system (optional) that gives you access to a faster queue for select attractions, skipping or greatly reducing the standby wait. Think of it like a VIP queue lane — but you pay for the privilege.
Here are the key points:
- Not every ride has a Lightning Lane access. Some attractions are only standby‑queue.
- There are three different tiers/options of Lightning Lane access (at least at Walt Disney World) as of mid‑2024 onwards:
- Lightning Lane Multi Pass – a bundle of multiple attractions.
- Lightning Lane Single Pass – pick one (or two) of the most in‑demand attractions à‑la‑carte.
- Lightning Lane Premier Pass – the “all‑inclusive” premium option where you can ride many (or all) of the Lightning Lane attractions without individual reservations.
- The pricing of these services are dynamic and vary by park, date, attraction and crowd‑level.
In other words: you buy fewer (or more) passes, choose certain rides, pick time windows — and the Lightning Lane helps you move more efficiently through the park, skipping the long queue for major rides.
How the System Works (Step‑by‑Step)
Here’s a breakdown of how you’d use Lightning Lane in practice.
1. Purchase the correct Lightning Lane type
Before or on the day of your visit, through the app (My Disney Experience at Disney World) you decide whether you’re going for:
- Multi Pass for the day
- Single Pass(es) for one or two high‑demand rides
- Premier Pass (if available for your park/day)
2. Booking your ride selections
- With Multi Pass, you typically pick up to three initial ride selections (for that day) ahead of time.
- With Single Pass, you pick the specific high‑demand ride(s) you want – often the newest or most popular attractions.
- You’ll select a return window (typically 1 hour) for when you’ll ride. For example: 2:10‑3:10 pm.
3. Enter the park & redeem your Lightning Lane
- When your return window opens, you approach the ride via the Lightning Lane entrance, scan your band/app/ticket, and enter
- Once you’ve used one of your Lightning Lane selections (or sometimes after a certain time passes), you may be eligible to book another selection. This is the “rolling” element of the system.
4. Continue the process
- After your initial selections and once you’ve redeemed one, you often are allowed to make additional Lightning Lane bookings (subject to availability).
- You may also modify times if possible, or switch rides within certain rules.
- If your first lightning lane is more than 3 hours after park opening you will activate the 3 hour rule. 2 hours after opening you will receive a 4th lightning lane.
5. Understand the “return window” rules
- Although you get a one‑hour return window (e.g., 2‑3pm), in practice there is often a small grace period of arriving a few minutes early (5 min) or a bit late (some guests report up to ~15 minutes) without being turned away.
- But don’t rely on too much lateness — always aim to arrive during or as early in the window as possible.
If You Miss the Window Entirely
- The pass is forfeited — you can’t reschedule or rebook it after it expires.
- However, if Disney cancels it (like for a ride breakdown), you’ll receive an “Experience Redemption” pass, valid for a variety of rides that day.
6. Know about “tiers” (for Multi Pass)
For the Multi Pass option, rides are often grouped into Tier 1 (the top‑demand rides) and Tier 2 (still good, but less in demand) so initial selections may have restrictions.
Why Did Disney Change Over to This System?
The old free system (FastPass+) died off, and the paid Lightning Lane system evolved to meet business and guest‑flow needs. Some of the reasons:
- Crowds have grown, and wait times can be huge — the new system gives guests a way to bypass much of the standby wait.
- The new system provides more flexibility and transparency (you can see available return windows before purchase) compared to older systems.
- From the park operations side, the system allows Disney to better manage ride throughput, “premium” vs “regular” access, and revenue.
Strategy Tips for Maximising Your Time
Having the Lightning Lane is one thing — using it smartly is another. Here are proven tactics to get the most out of it.
Tip 1: Book your earliest useful return time
Avoid booking all your Lightning Lane selections late in the day. Try to get at least one early window. Once you redeem your first Lightning Lane, you can book another. So you should reserve at least one Lightning Lane earlier in the day to unlock subsequent selections sooner.
Why? Because the sooner you scan your first Lightning Lane, the sooner you become eligible to pick your next one (and so on). So that early step opens the “rolling” process.
Unless you are planning to utilize the 3 hour rule, then you should book all three more than 3 hours away and receive a 4th lightning lane 2 hours after the park’s official opening.
Tip 2: Use a “burner” attraction first (if needed)
If you can’t secure a prime early time for a Tier 1 ride, pick a less‑popular but still solid ride first (a “burner”) with an earlier return time. Once you ride it, you trigger the rule that lets you book again. In practice, this might mean booking an unpopular Lightning Lane first thing in the morning. As soon as you tap into one of these, you can make another Lightning Lane selection and modify your other tier 2 pick to upgrade to tier 1.
Tip 3: Overlap return windows (where possible)
When planning, you don’t need perfect spacing. Overlapping return windows by 30‑45 minutes can allow you to stay flexible and avoid idle time.
Tip 4: Pick attractions smartly
- Prioritise the most in‑demand rides (usually Tier 1 or Single Pass rides) early — these fill fastest.
- Use your Lightning Lane for rides that would otherwise have very long standby waits (60+ minutes or more). For slower waits (<30 min) the benefit is less.
- Avoid zig‑zagging across the park. Choose rides in the same area when possible to minimise walking, and pick your Lightning Lane times accordingly.
Tip 5: Monitor the app and modify when possible
After booking your return windows, check the app frequently for earlier times or better opportunities. If you see a better time pop up for one of your selections, you can change your window.
Tip 6: Use your “booking after redeem” as soon as you can
As soon as your first Lightning Lane is scanned, immediately go to book your next one — don’t wait. The sooner you do the next one, the better your chances of getting a good slot.
Tip 7: Know that you may not “skip all wait”
Even Lightning Lanes can have some wait time — often 5‑10 minutes or whatever remains in the merging queue with standby. The Lightning Lane will generally be a much shorter wait but merges with the regular line usually a few minutes before you board the ride.
So, set expectations: you’re getting a big reduction in wait, not always zero wait.
Tip 8: Understand return window flexibility
You’ll usually have one hour, but there’s often some grace. Arrive early if you can (5 min early) or at least within a few minutes past the window. Trying to arrive very late may get you turned away.
Tip 9: If you’re doing Park Hopping, plan carefully
If your ticket includes the “Park Hopper” option (ability to go between parks same day), consider how your Lightning Lane bookings may span different parks (if allowed) and coordinate your walking/transport time accordingly.
Tip 10: Check cost vs benefit
Lightning Lane access adds cost. Consider whether the rides you’ll book have standby waits that justify the purchase. For days of low crowds, you may save less, for peak-days you’ll save more. Strategy guides suggest the benefit could be 1.5 to 3 hours of lost waiting time for typical days.
Common Questions & Mistakes
“Does every ride have a Lightning Lane?”
No — some rides, shows, and character meets may not have Lightning Lane access.
“Can I ride the same ride twice with Lightning Lane?”
Generally no. For Single Pass rides you typically purchase for one ride only. For Multi Pass you choose a ride once; some rides allow a standby second time, but lightning lane repeated use is not permitted.
“If I miss my return window, am I out of luck?”
You may still be allowed entry if you’re slightly late, but it’s not guaranteed. The grace period exists, but you shouldn’t rely on it. Arrive as scheduled. Beyond the grace period if you have a good reason the cast member may let you in but it is highly unlikely.
“Does this replace standby lines?”
No — standby lines still exist for each ride (unless the ride is closed or uses a virtual queue). Lightning Lane is a separate “express” queue for those willing to pay.
“Is Lightning Lane worth the ‘premium’?”
That depends on your goals, crowd levels, how many rides you want to hit, and how much waiting in line you want to avoid. For families with limited time, it can be a valuable productivity tool. For guests on a relaxed schedule or low‑crowd day, maybe less so.
“What about the new Premier Pass – what is it exactly?”
As noted earlier: the Premier Pass gives you skip‑the‐line access (for many/all Lightning Lane attractions) without having to book each time. It’s the highest‑priced option.
Sample Strategy: A Day in the Park Using Lightning Lane
Imagine you have one full day at the Magic Kingdom.
- Book ahead: You buy the Multi Pass option for the day.
- At 7:00 a.m. (or whatever booking window opens) you log into the app and select your 3 initial rides:
- One Tier 1 ride (e.g., a very popular coaster) for say 12:00-1:00..
- Two Tier 2 rides (less demanded) for more than three hours after park opening.
- One Tier 1 ride (e.g., a very popular coaster) for say 12:00-1:00..
- When the park opens, arrive early, enjoy a few standby rides while the crowds are smaller. For resort guests arrive early for early entry and get a few rides in with no wait before the park opens.
- If the park opens at 8:00am and your lightning lanes are all booked 3 hours later you will receive an additional lightning lane to book at 10:00am. Use this lightning lane to book rides now. Immediately after scanning in you go back into the app and book your next Lightning Lane selection.
- Throughout the day, keep using the app: check for earlier return times, grab new selections once eligible, overlap wisely, pick rides in the same land to minimise walking. Now that you’ve used the 3 hour rule you will continue having 4 lightning lane selections all day.
- Avoid idle time: While you’re waiting for your return window, you can do a standby ride nearby, have a snack, browse the shops, ride a less‑popular attraction.
- End of day: If you’re still eligible for another Lightning Lane later (after using your next one), go for it. Otherwise, enjoy the evening parade/fireworks or head back to standby for one last ride with lower wait.
Final Thoughts
The Lightning Lane system at Disney is a powerful way to leverage your time in the parks. Rather than spending large chunks of the day in standby lines, you can use a mix of strategy + planning + technology to ride more, wait less, and focus on the fun.
Here’s the takeaway checklist:
- Decide early whether Lightning Lane access makes sense for your group and schedule.
- Purchase the right tier (Multi, Single, Premier) for your park day.
- Book your selections ASAP (when allowed) and aim for windows that are early or 3 hours after official park opening.
- Redeem your first ride early to trigger subsequent booking opportunities or book your 4th lightning lane 2 hours after park opening and ride standby lines until then.
- Overlap smartly, stay in the same area of the park, monitor the app for better times.
- Use standby for shorter‑wait rides; save Lightning Lane for big ones.
- Know the rules, but stay flexible — things change (crowds, ride availability) so adaptation is key.